
Fresh bread in the home can feel like a luxury that is only available to you when you have a day with nothing else going on. But it’s actually a lot easier than you might expect—provided you know the ins and outs of breadmaking.
It might not get you a Hollywood Handshake (potentially trademarked), but we’re covering six essential tips to help you make a better loaf of bread at home.
Start With The Right Ingredients
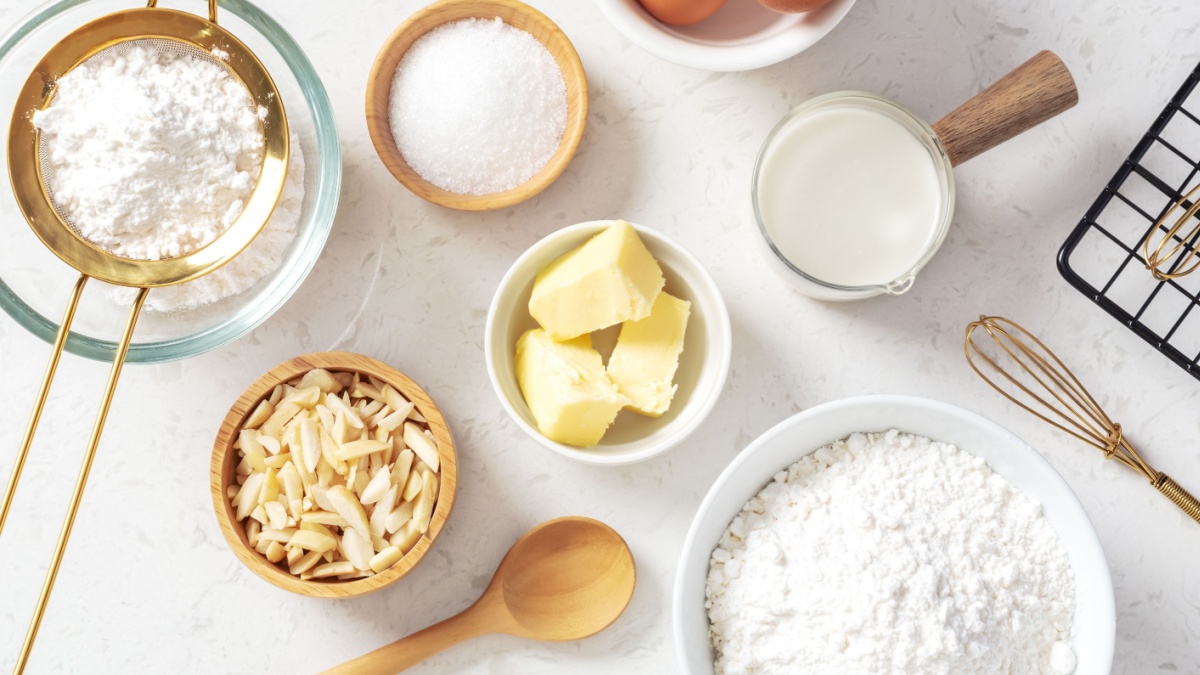
Bread is a simple food, but that doesn’t mean you can just skimp on quality. The basic ingredients are flour, water, yeast, and salt, but the quality of these ingredients can make a world of difference. And whatever you do, don’t use expired yeast! Fresh yeast is best; it ensures the yeast is alive and cooking, not to mention ready to help bring the right amount of lift to your loaf.
Don’t Rush Your Kneading
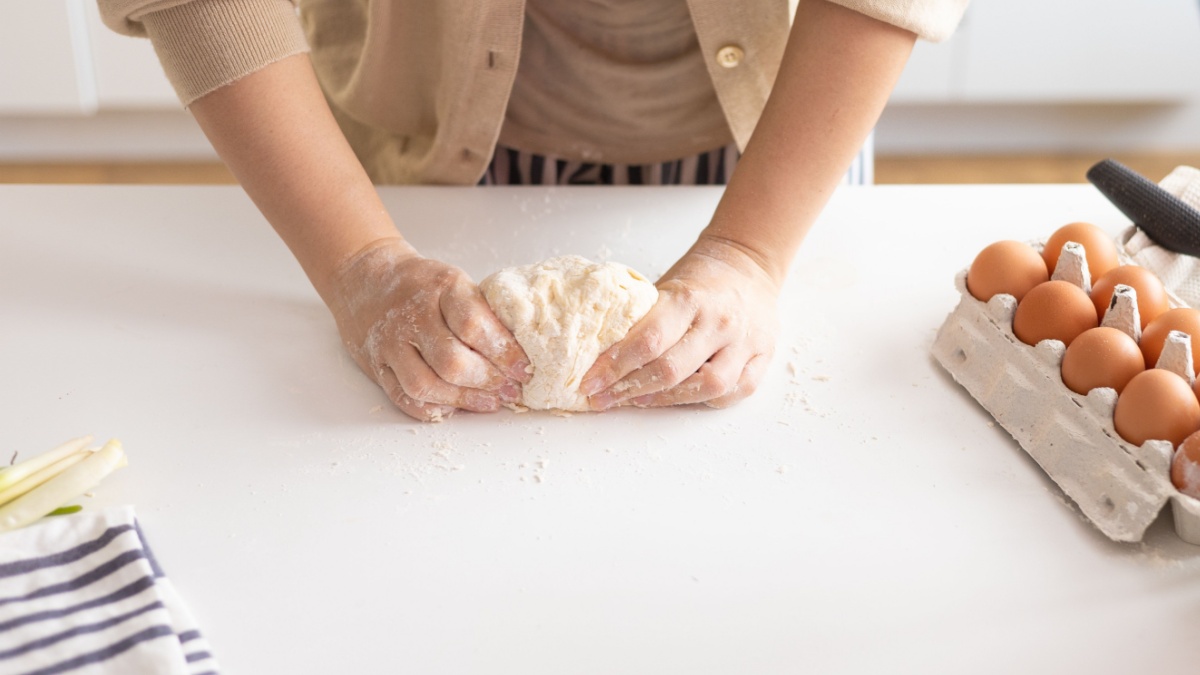
Take your time with kneading, because it’s such an important part of the process. This is when you’re developing the gluten so your bread can have good structure and chew. Aim for about 10 minutes of kneading. If you’re using a stand mixer, let it do the heavy lifting for you—just keep an eye on it to avoid everything from flying out all over the counter. The dough should become smooth and elastic. If it’s still sticky and clingy, you should keep kneading until it’s not.
The Proof is in the Proofing
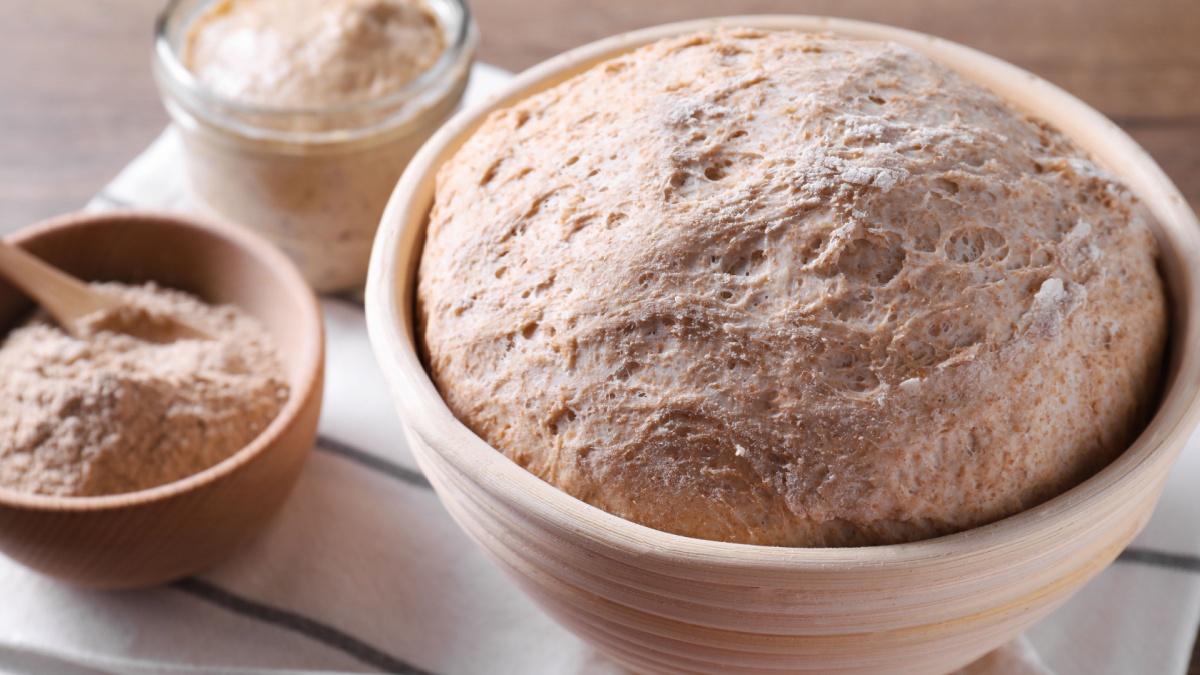
Proofing is the stage where your dough rises and expands, and it’s crucial for developing flavor and texture. But much like with kneading, this isn’t a race; it’s more like a leisurely Sunday afternoon (which is coincidentally the best time to make bread, honestly). Find a warm-draft-free spot for your dough to rise. Proofing can take anywhere from one to two hours, so be patient and wait until your dough has doubled in size.
Shape Your Loaf with Care
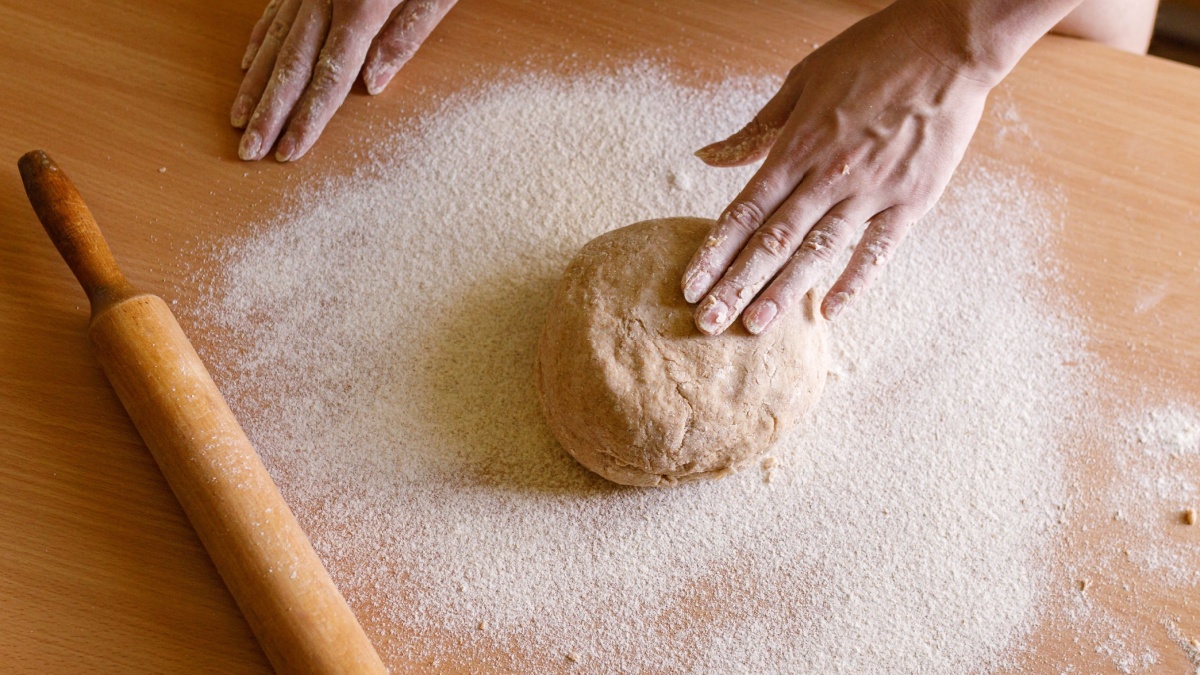
How you shape your loaf can dramatically affect the final product. Be gentle when shaping the dough to avoid deflating it too much. Use a light touch and tuck the edges under to create surface tension. This is also the moment where you can decide how you’re planning to use your bread. Maybe you’re making a classic sandwich loaf, or maybe you’d rather do a few separate rolls. Either way, just do your best with the shaping and remember that even if it looks a bit suspect, it’ll still taste amazing!
Preheat Your Oven
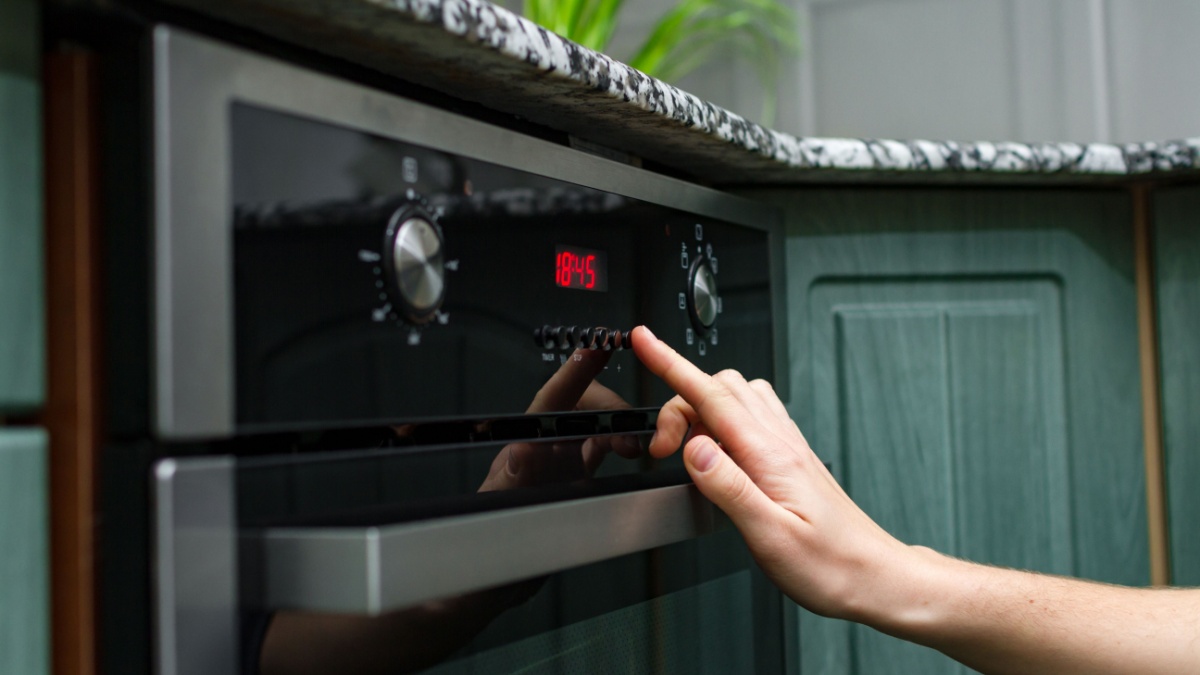
Once your dough is shaped and ready to go, it’s time to preheat your oven. This is a crucial step that can make or break your bread. An adequately preheated oven ensures that your bread rises properly and develops that beautiful crust we all love. You should preheat your oven for at least 30 minutes before baking. And please don’t open the door during the first half of the bake! If you must peek, turn your oven light on or…go do something to distract yourself, like sit on your hands!
Let It Cool
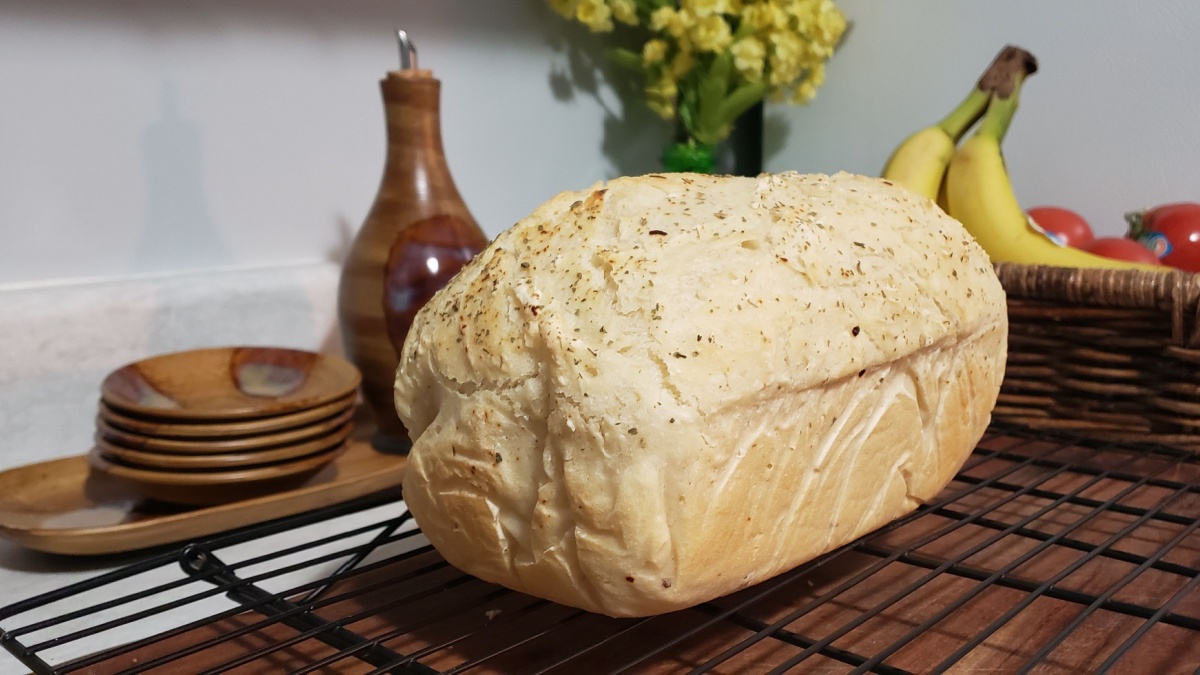
Your bread is done! Hooray! Time to eat, right? No, actually, not at all. Place your bread on a wire rack to cool and prevent it from becoming soggy. Slicing too soon usually leads to your bread becoming a gummy mess. The timeline for this will vary, but you shouldn’t cut into your bread until it’s completely cool to the touch.
20 Food to Stockpile (For the Best Chance of Survival)

A well-stocked pantry can provide peace of mind and empower you to handle any situation. Whether it’s a natural disaster, economic instability, or simply unexpected guests, having a stash of versatile essential foods can make all the difference.
Here’s a list of 20 of the best foods to stockpile, ensuring you’re ready for whatever comes your way.
20 Food to Stockpile (For the Best Chance of Survival)
12 Everyday Foods Some People Just Can’t Stand

When it comes to their foods, some people are just picky eaters. It’s surprising how certain popular foods can be so divisive. While many people love them, others can’t stand the taste, texture, or even the idea of eating them. Here are some surprising foods that some people just can’t stand.

Leave a Reply